What Our Customers Are Saying
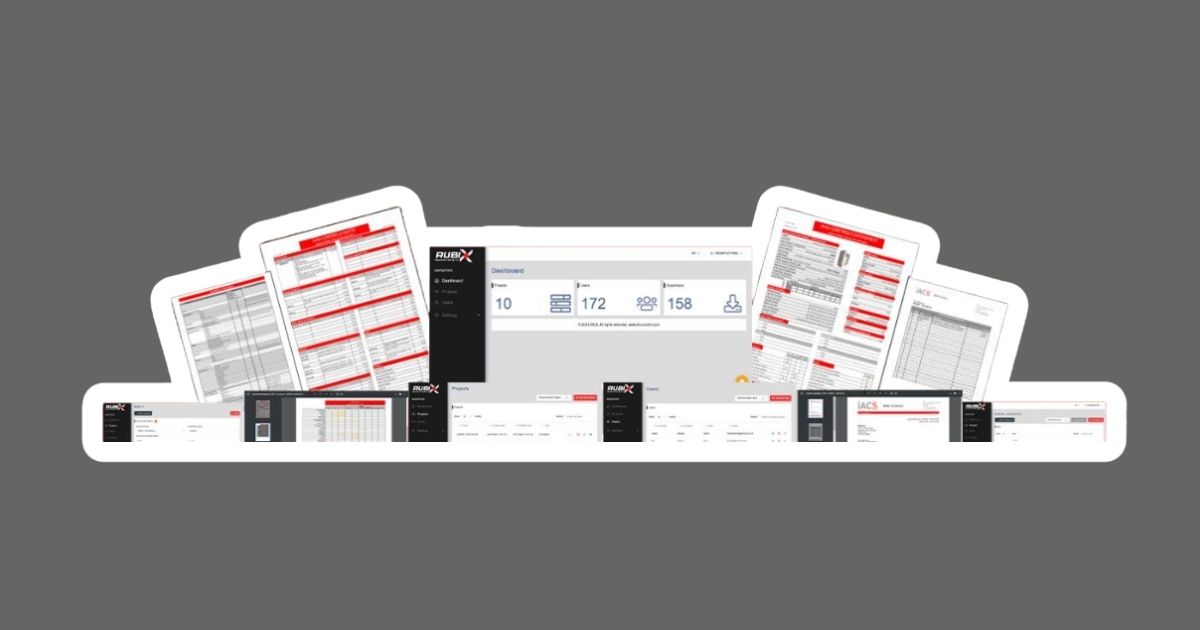
Simplify HVAC Configuration with the Rubix Controls Selection Tool
12
Dec
Designing and configuring HVAC systems can often feel overwhelming, especially when balancing precision, compliance, and efficiency. Enter the Rubix Controls Selection Tool—a free platform that simplifies the process by offering intelligent automation and intuitive design features. This tool empowers HVAC professionals to design tailored systems, generate detailed quotes, and streamline the entire project lifecycle with just a few clicks.
In this guide, we’ll walk you through how to use Rubix effectively, from creating a project to exporting branded quotations. Whether you're configuring an AHU, HRU, or other systems, Rubix has everything you need.
Table of Contents
- What Makes the Rubix Tool Unique?
- Step-by-Step Guide to Using Rubix
○ Step 1: Launch the Dashboard
○ Step 2: Define Basic Parameters
○ Step 3: Configure the Components
○ Step 4: Advanced Options
○ Step 5: Control Panel Layout
○ Step 6: Review and Adjust
○ Step 7: Export Your Outputs - Why Rubix is a Game-Changer for HVAC Professionals
- Conclusion
What Makes the Rubix Tool Unique?
The Rubix tool stands out for its ease of use and powerful automation capabilities. With features like pre-configured defaults, integration with BMS protocols, and advanced customisation options, Rubix is designed to:
- Save time.
- Minimise errors.
- Ensure compliance with industry standards.
Let’s explore how you can use Rubix to simplify your next project.
Step-by-Step Guide to Using Rubix
Step 1: Launch the Dashboard
When you log into Rubix, you’ll see the main dashboard displaying all your existing projects. From here, you can:
- Open an existing project.
- Create a new project for a specific unit.
Starting a New Project
- Click “Add New Unit” at the top-right of the screen.
- Name your project (e.g., "AHU for Office Block").
- Choose the unit type—AHU, HRU, or another system.
Step 2: Define Basic Parameters
Once your project is created, Rubix prompts you to define key parameters:
- Select a panel type (e.g., standard or HTM-compliant for healthcare projects).
- Specify whether the project is a new build or a retrofit.
Pro Tip: Selecting an HTM panel will automatically configure components to meet healthcare compliance standards.
Step 3: Configure the Components
Rubix guides you through each component selection, making the process seamless.
Filters
- Choose from panel, bag, or HEPA filters depending on air quality requirements.
- Add Differential Pressure (DP) alarms to monitor filter performance.
- Decide whether to use a single DP switch or separate alarms for each filter.
Fans and Motors
- Specify the number of fans required and select duty/standby configurations.
- Choose between EC or AC motors, and input the desired voltage.
- Add inverter drives for enhanced energy efficiency.
Dampers and Actuators
- Define the type and size of dampers (supply, exhaust, mixing, or return).
- Select actuators with IP54 or IP66 ratings for indoor or outdoor use.
- Specify additional features like bypass dampers.
Heating and Cooling Coils
- Choose coil types: Electric, LPHW, or DX.
- Input coil dimensions, flow rates, and voltage requirements.
- Add frost protection if needed for colder climates.
Humidifiers
- Select humidifier types (e.g., isothermal or DX).
- Configure options like high-limit humidistats and anti-condensate heaters.
Heat Recovery
- Opt for Thermal Wheels, Plate Heat Exchangers, or Runaround Coils.
- Configure bypass damper options and adjust spindle numbers as needed.
Step 4: Advanced Options
Rubix offers advanced functionality to further customise your system:
- Smoke Extract Mode: Enable full extract mode for emergency situations.
- CO2 Sensors: Add air quality sensors to dynamically adjust ventilation rates.
- Night Setback Mode: Reduce airflow during off-peak hours for energy savings.
Step 5: Control Panel Layout
Rubix allows you to design the layout of your control panel:
- Enclosure Type: Choose a standalone enclosure or backplate mounting.
- Power Supply: Add internal lighting or anti-condensate heaters.
- Wiring Options: Specify internal or external wiring for the panel.
Step 6: Review and Adjust
After configuring all components, Rubix generates a detailed summary of your selections:
- Review the cost breakdown for each component.
- Make adjustments by toggling options on or off.
Step 7: Export Your Outputs
Rubix makes it easy to download and share your project documents:
- Quotation PDFs:
○ Includes pricing, component details, and installation requirements.
○ Fully branded with your logo and colour scheme. - Data Sheets:
○ Provides detailed specifications and wiring schematics.
○ Available with or without pricing. - Duplicate Units:
○ Quickly clone existing configurations for similar units, saving time on repetitive tasks.
Why Rubix is a Game-Changer for HVAC Professionals
1. Time-Saving Automation
Rubix pre-populates many fields with industry-standard defaults, allowing you to focus on critical details while speeding up the configuration process.
2. Built-In Compliance
From HTM panels to BMS compatibility, Rubix ensures your project meets all necessary regulations without additional effort.
3. Customisation Options
With advanced features like night setback, comfort economy, and integration with BMS protocols, Rubix offers unparalleled flexibility.
Conclusion
The Rubix Controls Selection Tool is revolutionising the way HVAC systems are configured and quoted. By automating complex processes, enabling advanced customisation, and generating professional outputs, Rubix saves time, improves accuracy, and enhances efficiency.
Ready to simplify your HVAC projects? Visit iACS Store to learn more and start using Rubix today!
Comment(s)
Recent Posts
-
Smart Fan Control with EBM Papst IoT Modules & Gateways — Now Available at iACS
 January 22, 2026
 -
Simplify HVAC Configuration with the Rubix Controls Selection Tool
 December 12, 2025
 -
iACS Partners with EBM Papst: Expanding Our HVAC Parts Catalogue with Innovative Fan Control Solutions
 December 9, 2025
 -
Revolutionising AHU Quoting with Rubix: The Free HVAC Quotation Tool
 December 3, 2025
 -
Optimise Airflow Control with EBM Papst Differential Pressure Sensors at iACS
 November 14, 2025